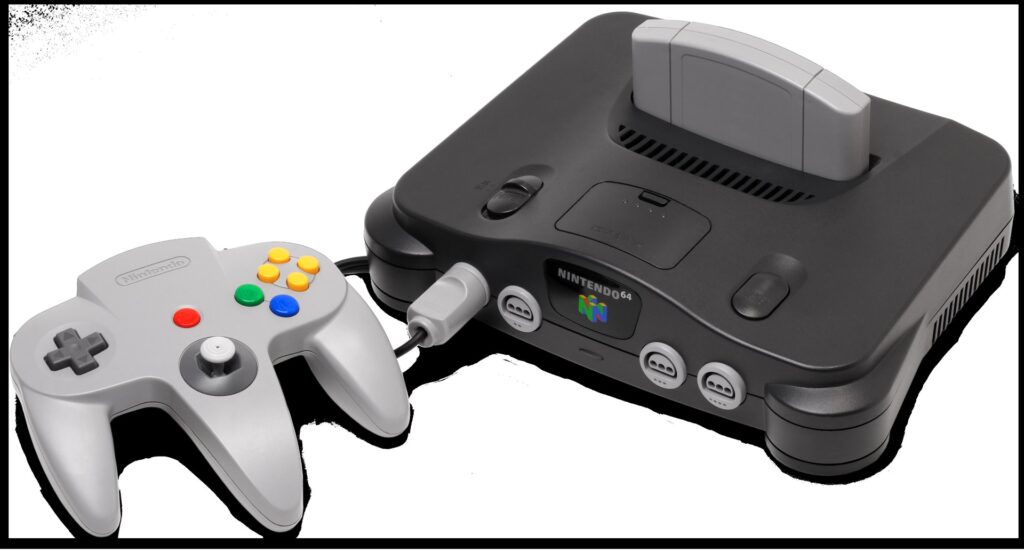
The Nintendo 64 — a console whose signature softness came from filtering decisions baked into its video hardware. Photo: Evan-Amos, public domain, via Wikimedia Commons.
N64 de-blur work starts with a hard truth: the fuzziness you remember is not one problem, and no single fix removes all of it. Plug a Nintendo 64 into a modern television and the picture looks smeared in a way the PlayStation and Saturn never quite match. That softness comes from two separate layers of filtering, applied by different parts of the machine for different reasons — and each fix in this guide attacks a specific layer. Get the layers straight, and the options sort themselves out: in-game settings, GameShark codes, ROM patches, flash carts, HDMI mods and emulators, in roughly that order of effort.
N64 De-Blur Basics: Two Layers of Smoothing
The Nintendo 64 was designed for the televisions of 1996: small, soft CRTs on which raw, unfiltered 3D graphics looked harsh. So Nintendo’s Reality Co-Processor applies filtering that most consoles of the era did not. The first layer is the console’s anti-aliasing, calculated in hardware to smooth jagged polygon edges, together with a dither filter that blends the dithered patterns the machine’s limited colour depth produced. Crucially, these are not fixed settings. They are controlled by a value in the console’s video interface register — hardware engineers know it as the VI control register — and each game’s developers chose the value for their own title. That is why some N64 games are noticeably crisper than others, and it is why a fix has to be applied game by game.
The second layer is sneakier. Most N64 games render internally at 320 pixels across, but the video hardware stretches that image horizontally to 640 on its way to the television, interpolating as it goes. On a CRT this helped the picture look smooth and stable. On a modern panel it reads as a permanent sideways smear — and unlike the first layer, it cannot be switched off by software at all. No code or patch removes it; the hardware mods below only compensate for it.
One N64 game showed early on that the first layer was negotiable: the 1998 port of Quake included a menu option to switch its anti-aliasing off, trading smoothing for sharper edges. It took the community until 2016 to learn how to do the same thing to every other game.
Two complications are worth knowing before you start. First, the layers are not the whole of the N64’s look. The machine also applies bilinear filtering to its textures, and a good deal of what players call “N64 blur” is really that texture softness — none of the register fixes in this guide change it, which is why a de-blurred game can still look unmistakably like an N64 game. Second, not every game renders at the same resolution. Titles with high-resolution modes — several of them tied to the Expansion Pak — start with more pixels, so the anti-aliasing layer is doing less of the damage and the results of removing it are subtler. Judge the fix per game, not per console.

A GameShark Pro for the Nintendo 64 — the pass-through cartridge that remains the simplest way to de-blur a game on original hardware. Photo: Evan-Amos, CC BY-SA 3.0, via Wikimedia Commons.
The Original Fix: GameShark Codes
In early 2016, users on the ASSEMblergames forum worked out how each game applies its video register setting, and how a cheat device could rewrite it while the game ran. The mechanism is elegant. A GameShark code does not touch the anti-aliasing directly; it patches the two places in memory where the game keeps its register value, changing the part of that value that enables the filtering. The community’s maintained documentation — today archived by the ConsoleMods wiki — walks through the example of Mario Kart 64: its register value is 00013016, stored at two memory locations, and the published code set rewrites it to 00003216, which turns the anti-aliasing bits off.
The codes themselves, exactly as published, are four lines:
810EB3DC 0000

810EB3DE 3216

810EB40C 0000

810EB40E 3216
Key in those lines on a GameShark with a North American copy of Mario Kart 64 and the game boots with its anti-aliasing disabled: edges go visibly crisper and textures stop swimming, while the horizontal stretch remains, because that is layer two and codes cannot reach it. Three warnings matter. First, these codes are specific — every game, every region and every cartridge revision keeps its register value in different places, so a code written for one title or territory will do nothing, or worse, on another. Second, the effect is a trade, not a free upgrade: with the filter gone you will see the dithering the filter existed to hide, and a handful of games genuinely look worse. Third, you do not need a full-strength fix — the register value can be adjusted in stages, and some players prefer partial filtering. Community-maintained code lists give you the per-game values either way.
The hardware side, in practice, is simple. The GameShark cartridge sits between the console and the game cartridge; you boot to its menu, pick or create the entry for your game, key in the code lines, and start the game with the codes enabled. A flash cartridge with cheat support can do the same job through its own menu, without the extra hardware. Either way, write down the codes you use and keep the region of your cartridge in mind, because a code is a set of memory addresses, and addresses move between releases.
Patch the ROM Once: Auto-Patchers and IPS Patches
If keying codes in feels fragile, the same edit can be baked into the game itself. The developer santurnu built an auto-patcher (u64aap.exe) that opens a ROM, finds its register value and rewrites it permanently; a second tool, N64noAAPatcher, does the same job. Community member Poregon went further and produced ready-made IPS patches covering most of the North American N64 library — that patch set’s original home has vanished, but it is preserved at the Internet Archive, and the patches apply in seconds with a utility such as Lunar IPS. Match the patch to your ROM’s region before you start: the sets were built per region, and a patch written for the North American release will not land correctly on a European ROM image.
Patched ROMs then need a way onto real hardware, which is where flash cartridges come in. An EverDrive 64 plays patched ROMs directly, and it also supports GameShark codes of its own, which makes it a de-blur toolbox in a single cartridge. Flash carts have been part of this console’s afterlife for years — they are how the 64DD’s library escaped its add-on, as we covered in our report on 64DD games running from EverDrive and 64drive carts — and the same logic powers our EverDrive GBA X5 review on the handheld side. The catch is the honest one: you are patching your own game dumps, so this route suits collectors who already back up their cartridges.

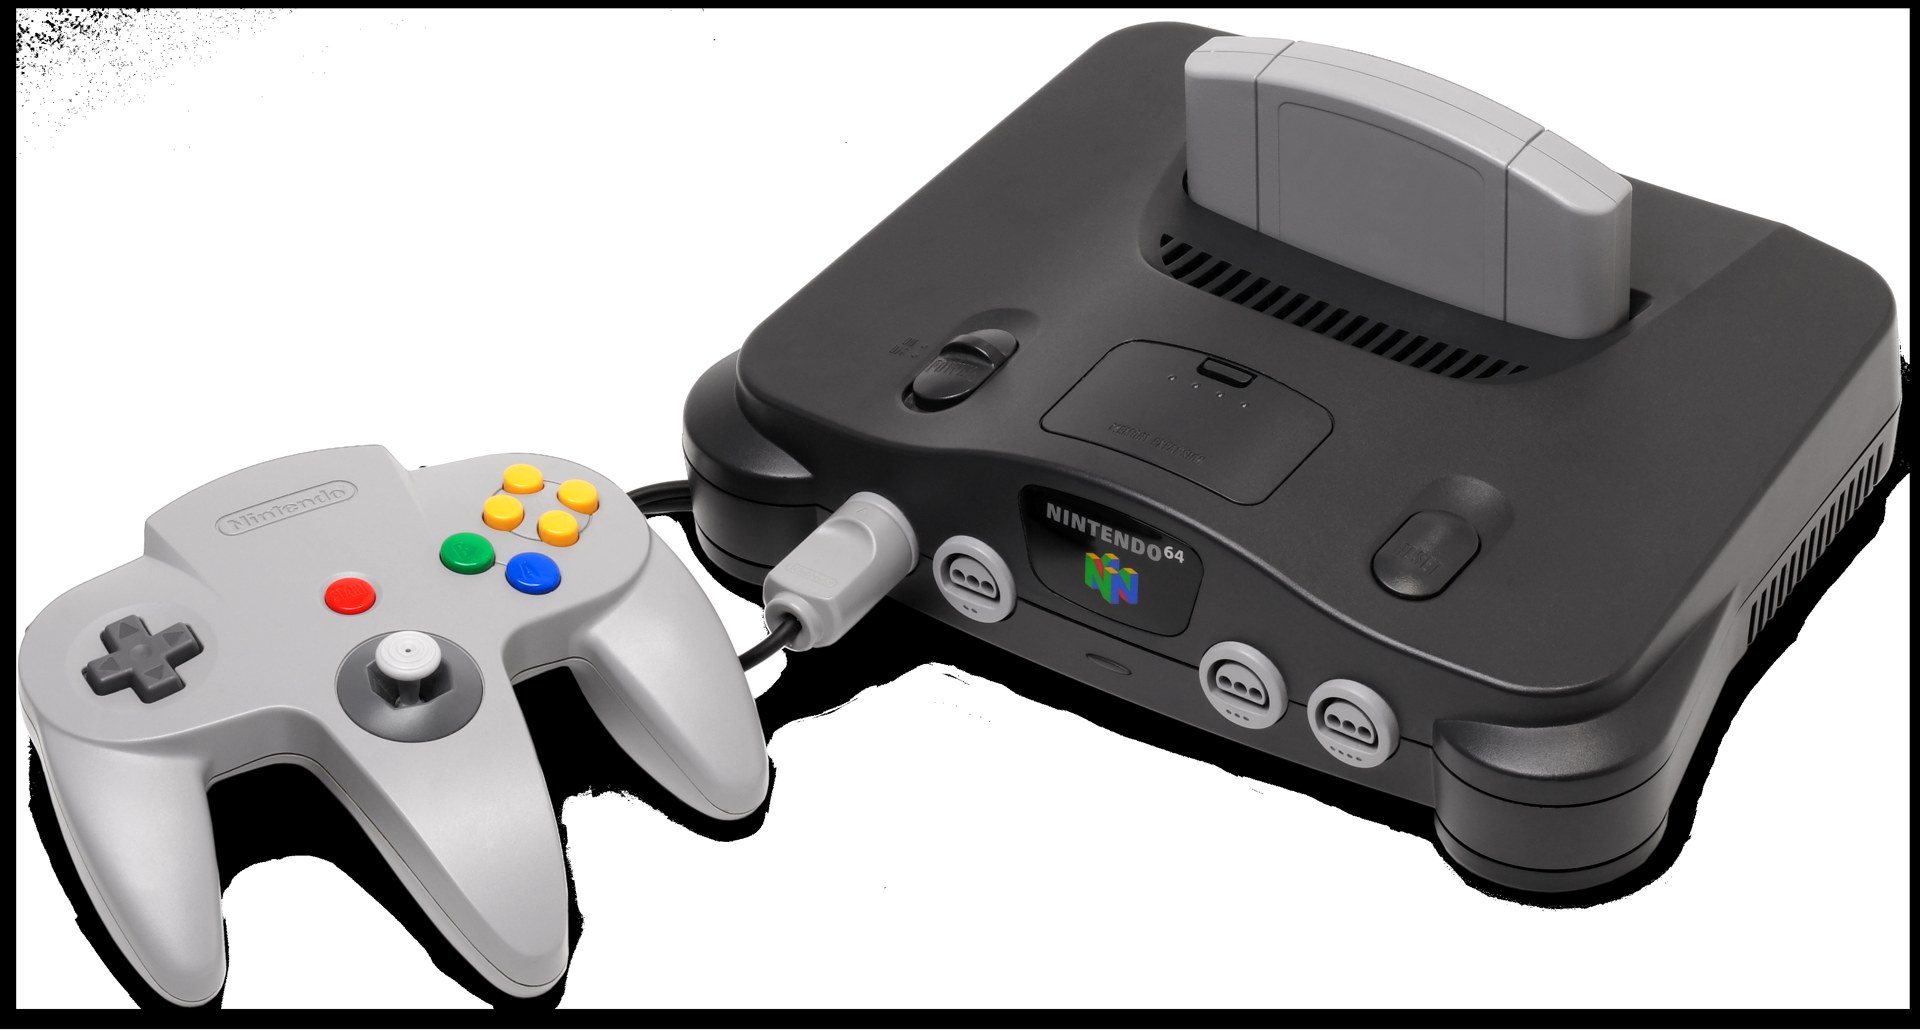
Original hardware remains the reference point: every method in this guide is ultimately judged against an N64, a cartridge and a screen. Photo: Evan-Amos, public domain, via Wikimedia Commons.
The Horizontal Half: HDMI Mods and Scalers
Layer two — the horizontal interpolation — only yields to hardware. Internal HDMI modifications such as the UltraHDMI and PixelFX’s N64Digital, and RGB boards in the N64RGB line, include a “deblur” feature that changes how the console’s output is sampled to compensate for the stretch, producing visibly sharper pixels on a flat panel. An external scaler can get part of the way there too: an OSSC fed the right optimal timings applies a similar correction from outside the console. What none of these touch is layer one. As the My Life in Gaming deep-dive on this subject puts it, the HDMI-era deblur and the anti-aliasing fix are different tools for different blur — the sharpest possible N64 picture comes from addressing both layers, which in practice means an HDMI mod or scaler plus a code or patch for the games you care about. Budget and nerve matter here too: internal mods mean opening the console and soldering, so if your N64 is a childhood survivor rather than a spare, an external scaler — or simply living with layer two — may be the wiser spend.
Emulation: The Two-Minute Version
Emulators sidestep the whole problem, twice over. The video interface’s horizontal stretch was a quirk of the real video hardware, and many emulators never reproduced it in the first place — one layer of blur that simply does not exist on PC. For the other layer, use a low-level graphics plugin. In RetroArch, the ParaLLEl N64 core with the ParaLLEl-RDP renderer exposes a VI filtering option: leave it on for the authentic, filtered look, or switch it off for a sharper image that again reveals dithering the original hardware was hiding. Whichever side you land on is reversible in a menu, which makes emulation the cheapest way to decide whether you actually prefer the de-blurred look before spending money on hardware.
Nintendo’s own modern route is different again: the Nintendo 64 library in the Switch Online service renders the games at a higher resolution than the original hardware could, with filtering choices of Nintendo’s own — the games look crisper than they ever did on a real console, but not necessarily the way any fix in this guide makes them look. It is a useful reminder that “the N64 look” was never one thing. It was a stack of decisions — the developer’s register value, the video hardware’s stretch, your television’s softness — and every modern way of playing the library re-decides that stack for you, unless you decide it yourself.
Which Route Should You Take?
Match the fix to how you play. If you still run a CRT, do nothing: the filtering was designed for your screen, and the unfiltered image mostly exposes flaws the designers never expected you to see. If you play one or two favourites on original hardware through a modern display, a GameShark and the published per-game codes are the cheapest honest fix. If you maintain a library, patch your ROMs once and run them from a flash cart, so the fix travels with the games. If your N64 is a permanent fixture under a flat-panel television, the HDMI route addresses the layer nothing else can, and pairs with the codes or patches above. And if you are merely curious, spend twenty minutes with an emulator’s VI filtering toggle first.
Before any of that, do the free fix: check your cable. A large share of “N64 blur” complaints are really composite-video complaints — the bundled yellow-plug connection smears everything the console outputs, filtering or no filtering. An S-Video cable on an unmodified console is the single cheapest picture upgrade the N64 has, and on a CRT it can make the stock, fully filtered image look good enough that the rest of this guide becomes optional. Fix the signal path first; then decide whether the filtering itself still bothers you.
One last word in the blur’s defence: it is not a defect in the way a stretched VHS tape is a defect. It was the intended look of the machine, chosen per game by the people who made them, and some titles — foggy, atmospheric ones especially — lose something when every edge is picked clean. De-blurring an N64 is best treated like any other restoration choice: know what each layer does, apply the fix where it helps, and keep the option to put it back.